How To Make Wave Curtains
How to Make Wave Curtains – A Simple, Step-by-Step Guide
At Modern Curtains, we specialise in wave curtains only. We’ve had many requests for easy at-home instructions on how to make wave curtains, so here’s our guide. Please leave a comment below if you have questions, or get in touch if needed help with fabric selection for your new project! With the right tools, clear instructions, and patience, you can create elegant wave curtains that add a contemporary finish to any room.
What Are Wave Curtains?
Wave curtains feature evenly spaced gliders and hooks that create smooth, uniform folds, flowing gracefully from top to bottom. They provide a clean, minimalist look suited to both modern and classic interiors.


Wave curtains are a stylish and modern choice, adding a soft and elegant look to your windows. In the first image above, you can see the wave curtain gliders, which help create the neat, flowing waves.
The second image shows a finished set of wave curtains—just the look you might want for your home. You can make these curtains yourself by following our instructions below. It may take a bit of time and care, but it’s possible! If you have any questions or need help, please feel free to contact us.
What You’ll Need to Make Wave Curtains
- 🧵 Fabric: Choose from acoustic, blackout, dimout, semi-transparent, or transparent fabrics. Consider the room’s style and privacy/light requirements. Lightweight fabrics create airy waves, heavier fabrics produce more defined folds.
- 📏 Wave Curtain Heading Tape, Hooks, & Gliders: These components ensure even folds and effortless gliding. Follow instructions for the correct number per metre of track.
- 🛠 Curtain Track: A track designed for wave curtains ensures smooth movement and consistent distribution of the folds.
- ✂️ Measuring & Sewing Supplies: A tape measure, scissors, pins, thread, and a sewing machine (or needle) will help you prepare your fabric accurately.
Fabrics Explained
Acoustic: Reduces noise for a quieter environment.
Blackout: Ideal for blocking out light—perfect for bedrooms and media rooms.
Dimout: Lets in some light while maintaining privacy. Great for living areas and studies.
Semi-Transparent: Balances privacy and natural light—ideal for lounges or dining areas.
Transparent: Offers a sheer, airy look that gently diffuses sunlight, perfect for layering or bright spaces.
Need Guidance or Want to Place an Order?
Call us on 0203 002 5717 or email Karen at info@moderncurtains.com for personalised advice, fabric recommendations, or to order your wave curtains directly.
Call Now Email UsComplete the Look with Coordinating Cushions

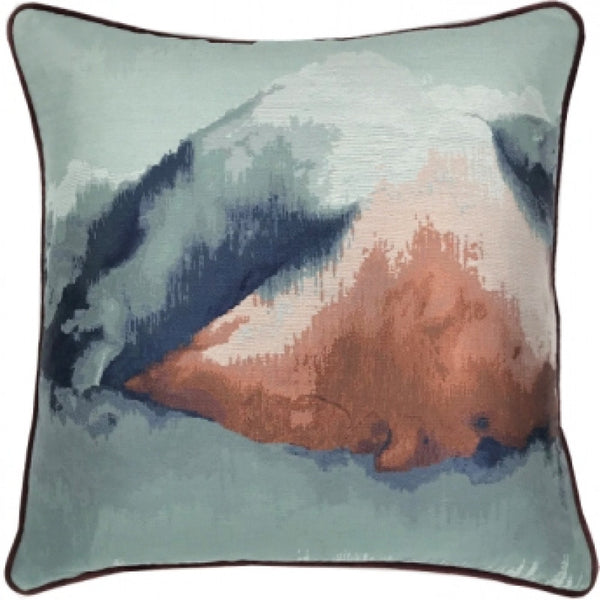
JC0042-2 Abstract Cushion, a stunning blend of artistic design and premium craftsmanship.
Buy Cushion
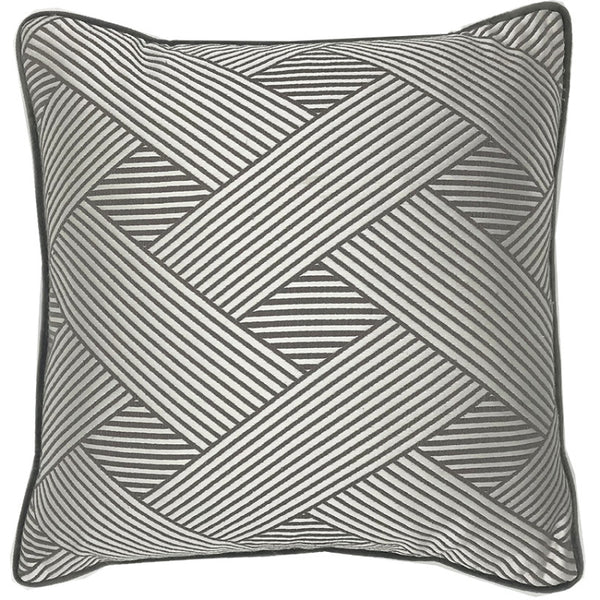
Geometric Grey & White Square Cushion Bring a modern edge to your decor with this geometric-patterned square cushion from ARCHROLL, model JC0083
Buy CushionHow to Make Wave Curtains – Step-by-Step Instructions
1. Measure Your Window
Use a tape measure to determine the window’s width and desired drop. Add a few centimetres for hems and ensure curtains fully cover the window. Double-check measurements to prevent sizing mishaps.
2. Cut and Hem Your Fabric
Cut your fabric according to your measurements. Press and sew the hems for a neat finish. A well-prepared panel ensures your wave curtains look professional and elegant once hung.
3. Attach the Wave Curtain Heading Tape
Align the heading tape along the top edge of the fabric, following the guidelines. Pin it in place and stitch it securely. The heading tape includes markings that show where hooks and gliders go, ensuring even, consistent folds.
4. Insert Hooks and Gliders
Refer to the tape and track instructions for how many hooks and gliders you need per metre. Insert them at the indicated intervals. Lay the curtain flat and work methodically from one end to maintain even spacing. This careful approach ensures your wave curtains form perfect folds.
5. Hang Your Wave Curtains
Slide the gliders onto the curtain track. Check the folds and adjust hook placement if necessary until each wave is uniform. Stand back and admire your handiwork—you’ve just mastered how to make wave curtains like a pro! If needed, small adjustments can make all the difference, so take your time to achieve a showroom-ready finish.
In a hurry? Quick links to help you find exactly what you need:
What Are Wave Curtains? What You’ll Need Fabrics Explained How To Make Them Expert Help Cushions

